For those applying this cycle, you already know that the ADEA PASS MATCH website and system can be frustrating. Many sections have limited information regarding what information to include and in what depth. To help clarify, and prepare others, a simple illustrated guide is below. How you ultimately fill out the application is up to you, but I’ll do my best to at least point some things out and help future applicants know what information to have ready.
**BE SURE TO SUBMIT YOUR APPLICATION EARLY**
Some programs send out interview invites before their deadline has even passed;
DO NOT PROCRASTINATE!
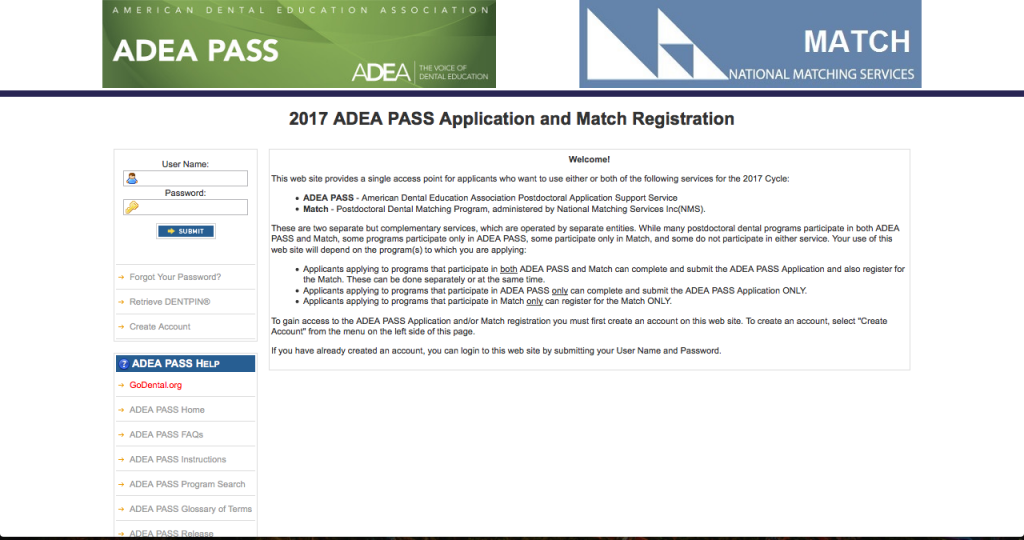
PASS Registration
The first step to complete for your formal residency application is to register for PASS (click for link to ADEA website). PASS typically opens in May each year. Registration is relatively straight forward requiring the usual first and last name, DOB, and email address. The only piece of information that you may not have handy is your DENTPIN®. If you don’t remember it, you can retrieve it here. Once that is completed, a simple username, password, and security question is created. Pretty straightforward.
PASS Navigation
Once you register, you’ll be directed to the main PASS page, which shows the status of your application and your PASS ID in the top right corner.
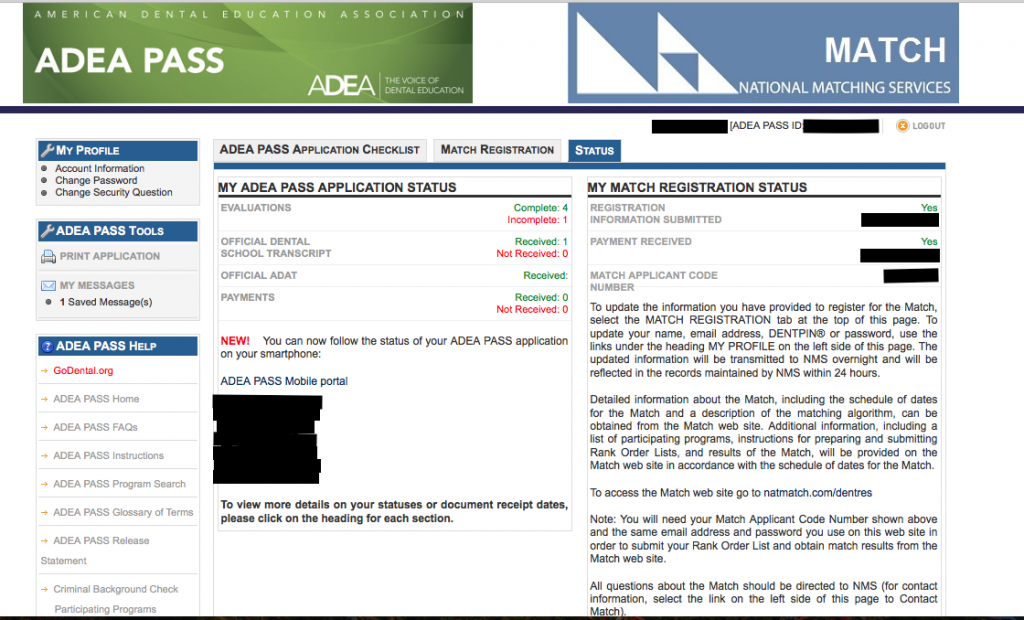
Probably the most important part of this page is status of your letters of recommendation. These typically are your rate limiting steps in your application and one of the few things that you cannot control. At the top of the page are three tabs: 1. ADEA PASS Application Checklist; 2. MATCH Registration; and 3. Status. The first tab, if clicked, navigates you to this page. This is the main part of your application and the most important.
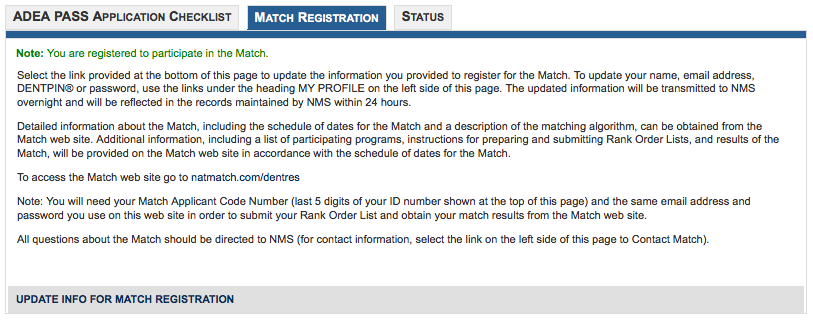
The MATCH registration page is where you pay $90 to register for the match. More on that later, but definitely go ahead and register.
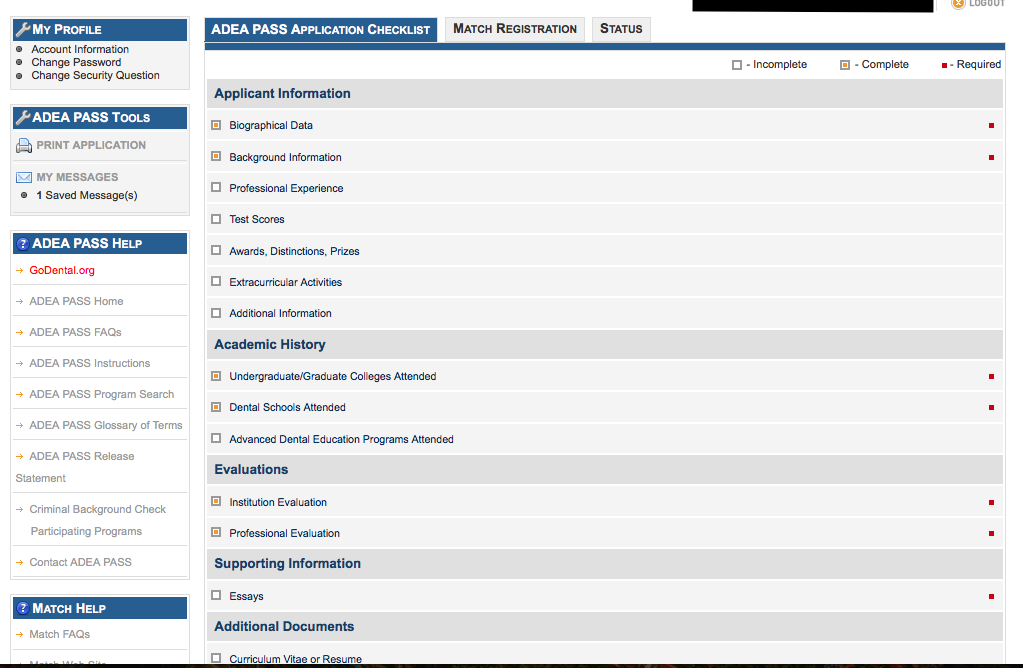
PASS Sections
This is broken down into sections for your information, evaluations, etc. Below are the sections with important information about each one. Also, on every page in each section, there is a small box titled, “INSTRUCTIONS FOR THIS SECTION.” Clicking it takes you to the Application Instructions Page, where it has more detailed information about the section you are filling out. Make sure you read each of these so that you fill out each section appropriately.
Application Checklist
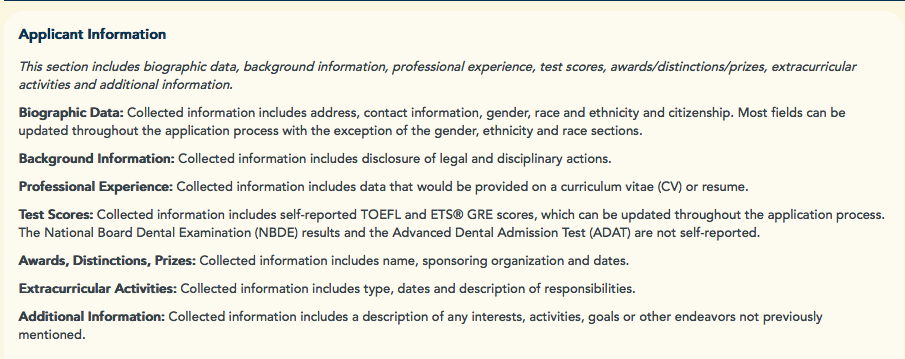
- Applicant Information
- Biographical Data
- Address, contact info, etc
- Background Information
- Questions concerning past misdemeanors, felonies, and disciplinary action.
- Be honest; do a personal background check if you must
- Sometimes your school can perform this for you
- Professional Experience
- Enter your research experience here
- Describe your involvement in how you would want to explain it in an interview; accurate and concise.
- Test Scores
- Enter TOEFL and GRE scores here
- TOEFL (Test of English as a Foreign Language)
- For foreign applicants
- GRE (Graduate Record Examinations)
- For orthodontic applicants
- TOEFL (Test of English as a Foreign Language)
- This is NOT where you enter your CBSE score
- Enter TOEFL and GRE scores here
- Awards, Distinctions, and Prizes
- If you think it is important, it is worth putting. Brag on yourself; it is one of the few times you are not penalized if you do, but you could miss out if you don’t. Again, be ready to explain anything on your application to an interviewer.
- Extracurricular Activities
- Same as above
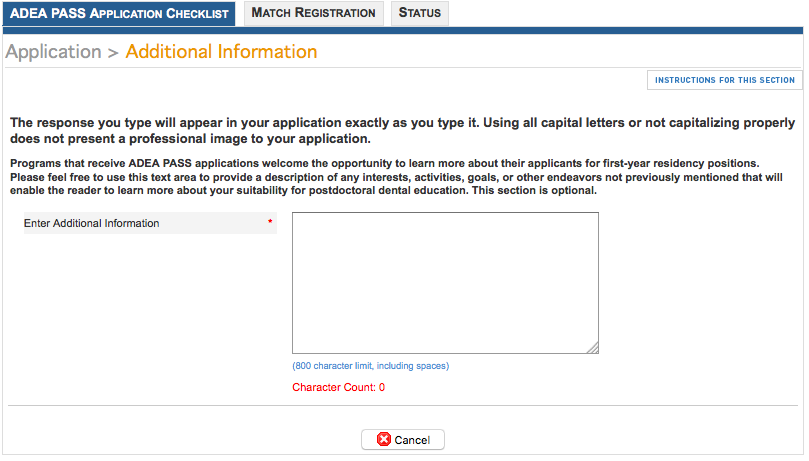
- Additional Information
- Optional section. If you have something good to write, then write it. If not, include it in your personal statement and move on.
- Biographical Data
- Academic History
- Undergraduate/Graduate Colleges Attended
- Include any college for which you will submit a transcript
- Dental Schools Attended
- Select your dental school
- Advanced Dental Education Programs Attended
- Select any advanced dental education you received
- Undergraduate/Graduate Colleges Attended
- Evaluations
- Institution Evaluation
- Completed by your dean. Will usually include your class rank or standing, results of your NBDE, and any personal comments, if they so choose. It is typically a standardized letter. Make sure to request early because everyone applying to residency at your dental school typically needs this letter, which can lead to a waiting period.
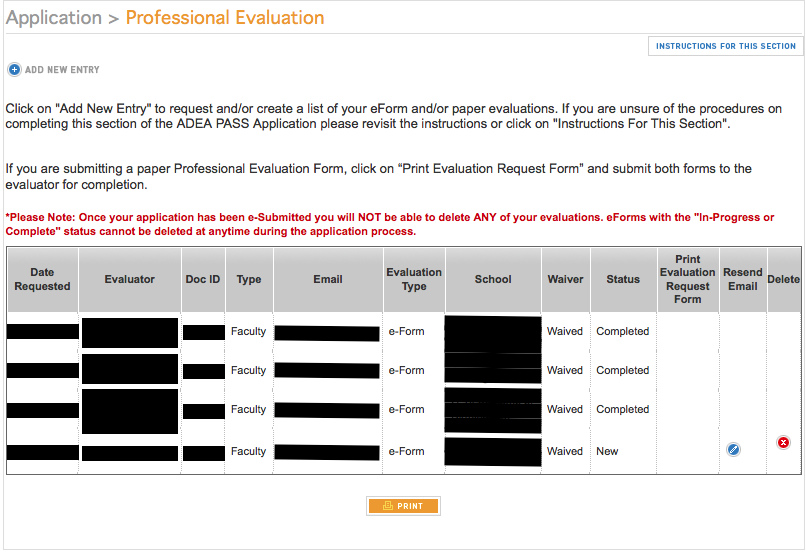
- Professional Evaluation
- Your letters of recommendation are found here. Make sure to request them from people who can directly comment on your academic involvement. The majority of these should be from OMFS faculty, and preferably from at least the chairman and program director. You can send a total of four to each program. Most require a minimum of two letters.
- Request these EARLY AS POSSIBLE. If a decent amount of time has passed since you initially sent the request on PASS, there is a button you can click to resend the PASS request email. Email or contact directly if needed.
- It is possible to submit your PASS application without an evaluator completing their recommendation as long as it was requested before you submit your application. It shows what date you requested the evaluation and the date the evaluation was submitted. Therefore, make sure you give an adequate amount of time so it doesn’t look like you waited until the last minute. However, even though you can submit your application, it will not be considered complete by the program it was designated for until the evaluator completes the evaluation.
- Once the evaluator completes the form, it is automatically added to your application, even if PASS was already submitted.
- Institution Evaluation
- Supporting Information
- Essays
- Include your personal statement here.
- Start on your personal statement early. There is no reason that you can’t start several months in advance of PASS opening. A personal statement can take up a lot of time and be very frustrating. Starting early allows you to come back to it with a fresh mind whenever you have writer’s block or get tired.
- Make sure to have your personal statement reviewed by friends, family, mentors, etc. You want to make sure that it appeals to all levels and represents you.
- Your personal statement is an opportunity to tell a program about yourself other than what you look like from a numbers standpoint. Don’t repeat your CV. No one wants to read that, and it doesn’t tell an interviewer anything about you.
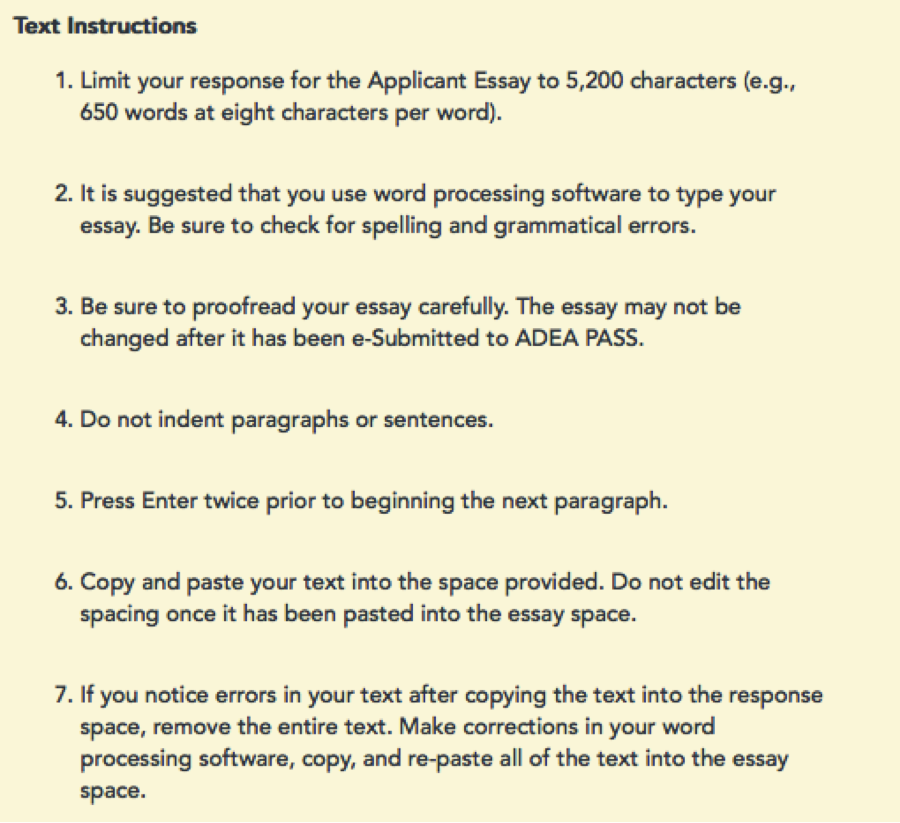
- Remember, most personal statements sound pretty similar and it is rare that someone has an incredible life-changing story of why they chose OMFS. So, unless you have one of those stories there is no reason to over extend yourself and try to hit it out of the park. Make sure your statement is intelligible and doesn’t have any grammatical or spelling errors and you’ll be fine.
- There are very specific criteria to follow as shown in the screenshot below
- Essays

- Additional Documents
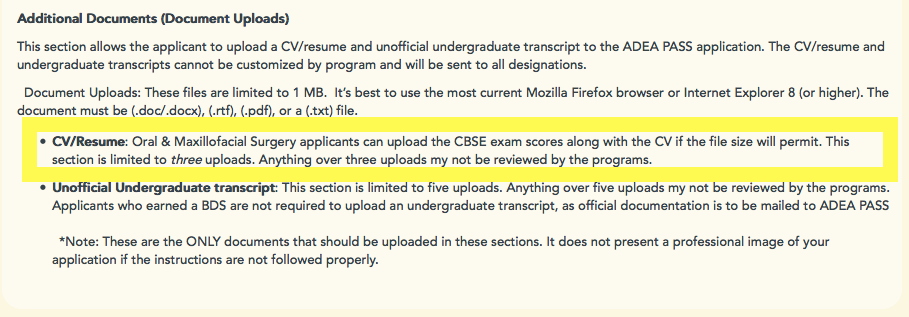
- Curriculum Vitae or Resume
- Include your CV and CBSE SCORE HERE
- Spend an adequate amount of time on your CV. Make sure to include an appropriate amount of white space and make it organized. Most CVs are looked at for less than a minute. Make sure that the important areas stand out i.e. oral surgery experience, research, awards, etc.
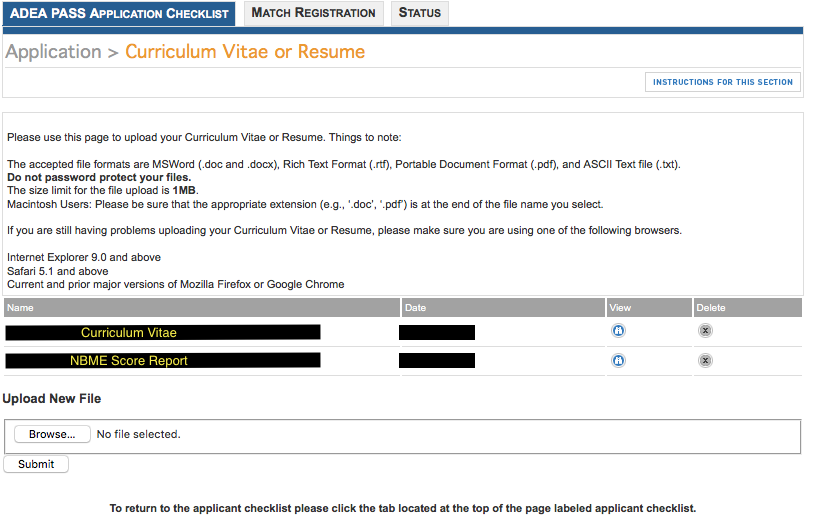
- Your CBSE score was sent to you in a PDF file from the AAOMS. Upload that PDF file in this section.
- Click the preview button after uploading to make sure that the files uploaded correctly.
- Undergraduate Transcripts
- Upload your transcript here
- Make sure that the file size and type are correct
- Curriculum Vitae or Resume
![]()
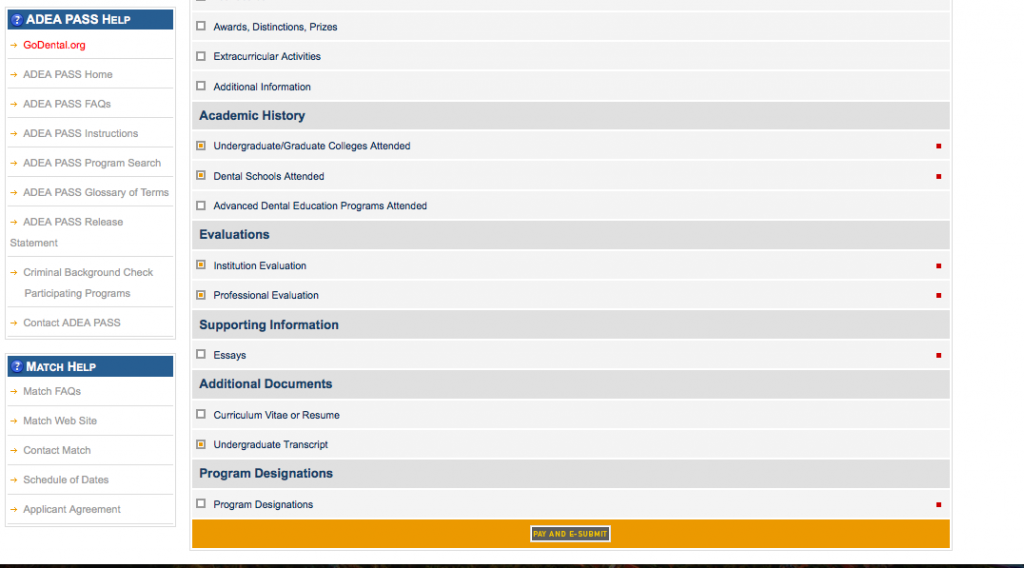
- Program Designations
- Program Designations
- Select the programs you wish to apply to
- Only select ones you are serious about
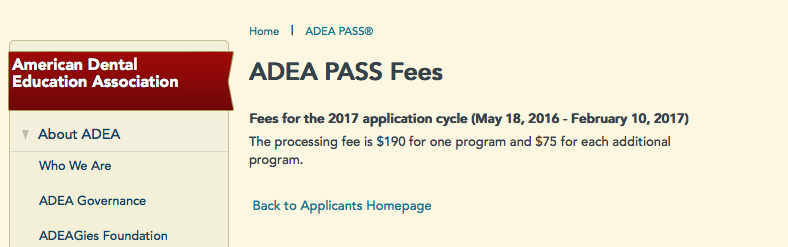
- First program is $190 with each subsequent program $75.
- i.e. Applying to 25 programs: $1990
- Program Designations
Double, triple, and quadruple check your application before you submit. Once you submit, no changes can be made. Look for spelling and grammatical errors in every submission, including your digital files. Have them reviewed by friends and family. If you did not extern at the program, it is likely their first impression of you is this document. You can see how your application looks when you are done by clicking on the “Print Application” button on the left side of the screen under ADEA PASS tools. Follow up with programs a week or so after you submit your application and before the deadline to confirm that it is complete. Check each program’s website for additional supplemental materials. Most programs require a 2×2 passport sized photo. Other items typically include undergraduate and dental transcripts sent directly from the institution, CBSE scores, and NBDE scores. Mayo’s program even requires a copy of the DAT. Send all supplementals in on time. If you have worked hard to accomplish all of the things to be a good applicant, now is not the time to be lazy. They only know what you tell them. Make sure it is an adequate representation of you.
Resources:
-
- ADEA PASS MATCH
- Main link to the PASS website
- ADEA PASS MATCH FAQ
- FAQ and other important info
- UCSF Career Development
- A great website for someone in any stage of their dental career. Most valuable information is their CV and personal statement writing tips and templates.
- FIVERR.com
- If you are apprehensive about having someone you know looking at your writing, or just want cheap editing, all of that can be found here for $5.
- Search for CV, resume, or personal statement and you’ll find tons of options.
- Passport Photo Editor
- Not for PASS, but a good website to create a 2×2 photo. Send to CVS or Walgreens for printing. Can print 20 photos for ~$1. You read that right, for around $1
- ADEA PASS MATCH
For more information, see the Applying to Residency page.